
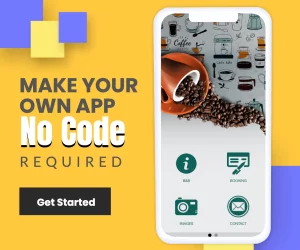
How To Make A booking App With Swiftspeed Appcreator
Do you know with our appmaker that, you can create a booking app where you can schedule dates and times based on your availability and make this information accessible to your clients so they can book appointments with you? Thanks to this feature, your customers can easily schedule an appointment at your business(es). This feature can be easily integrated into your application.
Kindly follow the simple steps listed below to create your own booking app or integrate the feature in your pre-existing app.
Step 1:
Go to the Swiftspeed homepage, log in, and you will be taken to the app creator dashboard. Click on “create a new application” or select a pre-existing app. If you selected “Create a new application”, you will have to type in the name of your app and click “Create”. If you are not familiar with the app creation process, please read our article on how to create an app on our platform.

Step 2:
Select “Features” from the side menu on the left side of your screen. Choose the bookings feature from the list of features. If you find it difficult to locate the bookings feature, you can use the search box to find it.

Step 3
In the Page settings section, type in the page name and subtitle. Select the locations tab and click on the plus button to create a new location. Type in the location name and your email address. Click “Ok”, and the location will be saved. If you have several businesses, you can add these businesses to your Booking feature. To do that, you only have to click on the plus button and enter the location of these businesses and your manager’s email address. You can repeat this process as many times as you want to reference all your businesses.

Why this information?
Your business(es) location is essential for your customers to know exactly where to schedule their appointments.
Thanks to your manager’s email address, the application will send him an email to validate the appointment.

Step 4:
Select the settings tab and choose “card” from the design drop list. You can also choose a cover image, write a description and select your preferred date format for your booking app from this tab. Click “save” when you are satisfied with the settings. See the image below.

Step 5:
Select the design tab to add a background image to your app. You can set an image for portrait and landscape mode. Click “save” when you are done selecting the images.

Step 6:
Click on the “see changes” button above the virtual device to see what your app would look like on an actual device. To generate an Apk of your app, click on “Download your app” from the side menu, scroll down and click on “Generate Apk.” The Apk will be sent to your email address when the build is complete. Here is an example of what your new booking app would look like.

Congratulations!!! You just created your very own booking app for your business. Your customers can now schedule an appointment with you at their convenience.

For more information on our many unique features, click here.